Automation for Jira
Official documentation found here: Automation: Basics
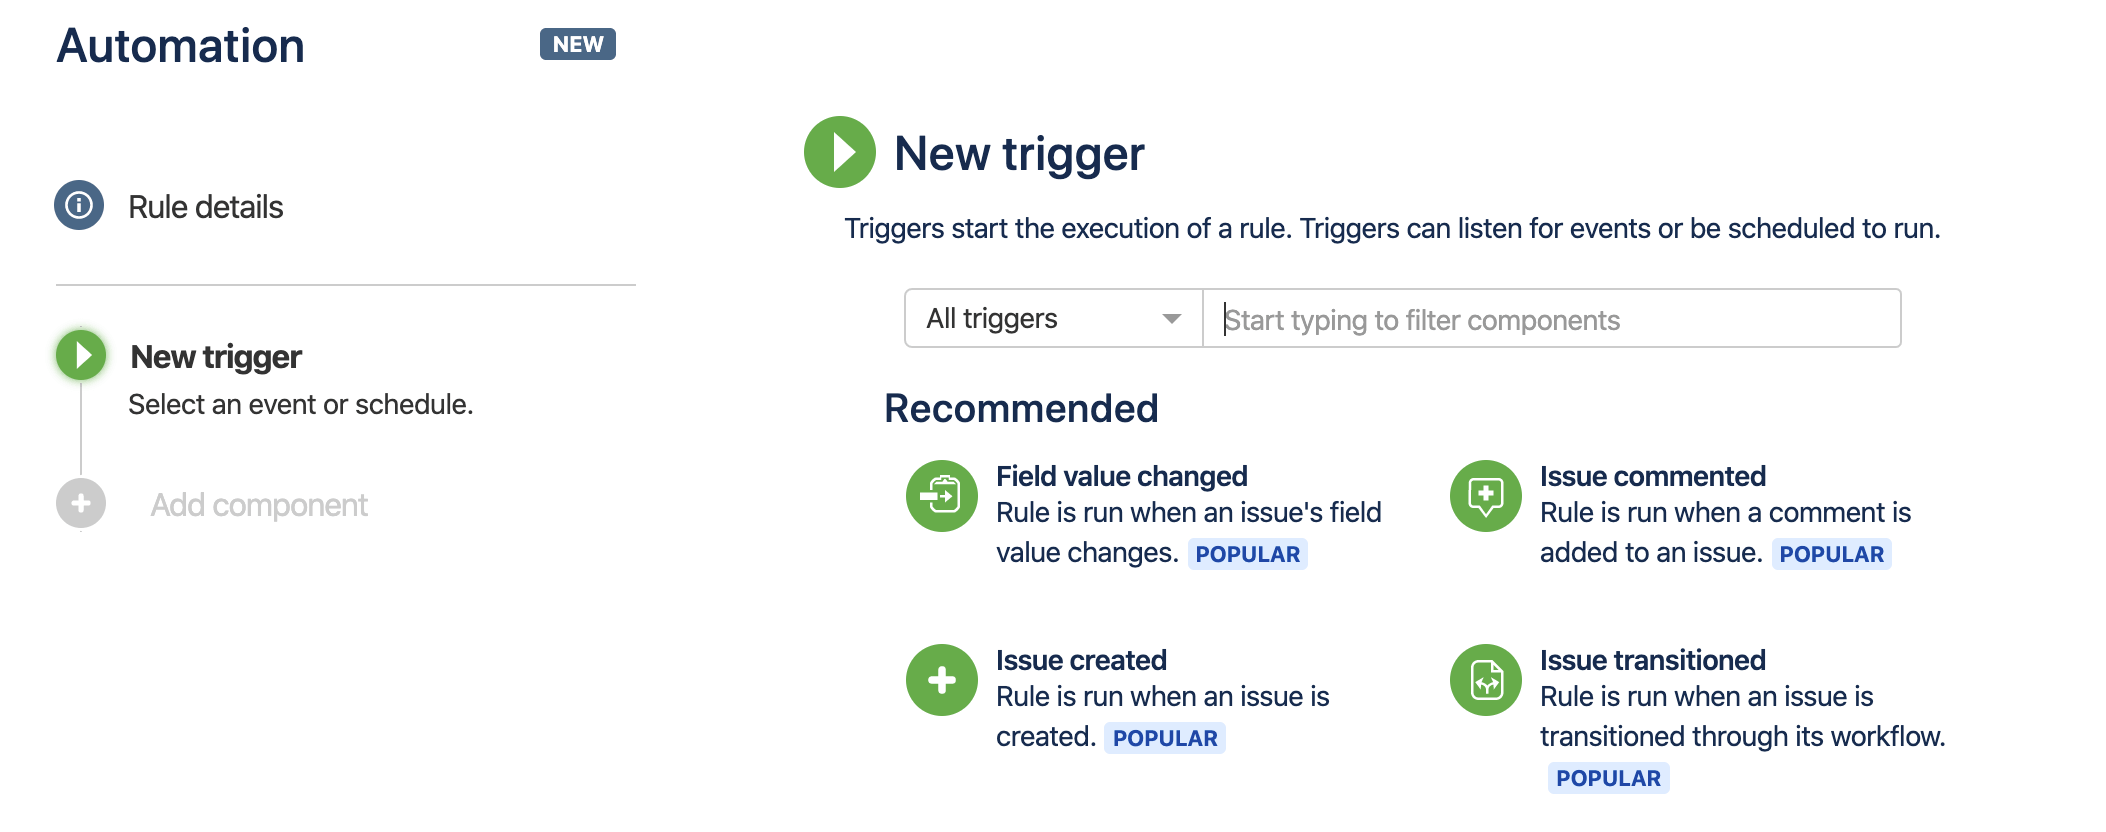
Automation rules are made up of three parts: triggers that kick off the rule, conditions the refine the rule, and actions that perform tasks in your site.
One great feature of Automation for Jira is smart values. They allow you to access and manipulate issue data within Jira. They can add significant power and complexity to your rules. For example, the smart value {{now.plusDays(5)}} references the current time and adds 5 days to it, while {{issue.summary}} will print off the summary of the issue. Learn more about using smart values.
To create a new rule:
- From your service desk project sidebar, select Project settings > Project Automation. Scroll past Automation towards the bottom of the sidebar.
- Select Create Rule
- Choose an event (trigger) that will kick off the execution of your rule and select Save.
- Select New condition and select a condition. This allows you to narrow the scope of your rule. They must be met for your rule to continue running.
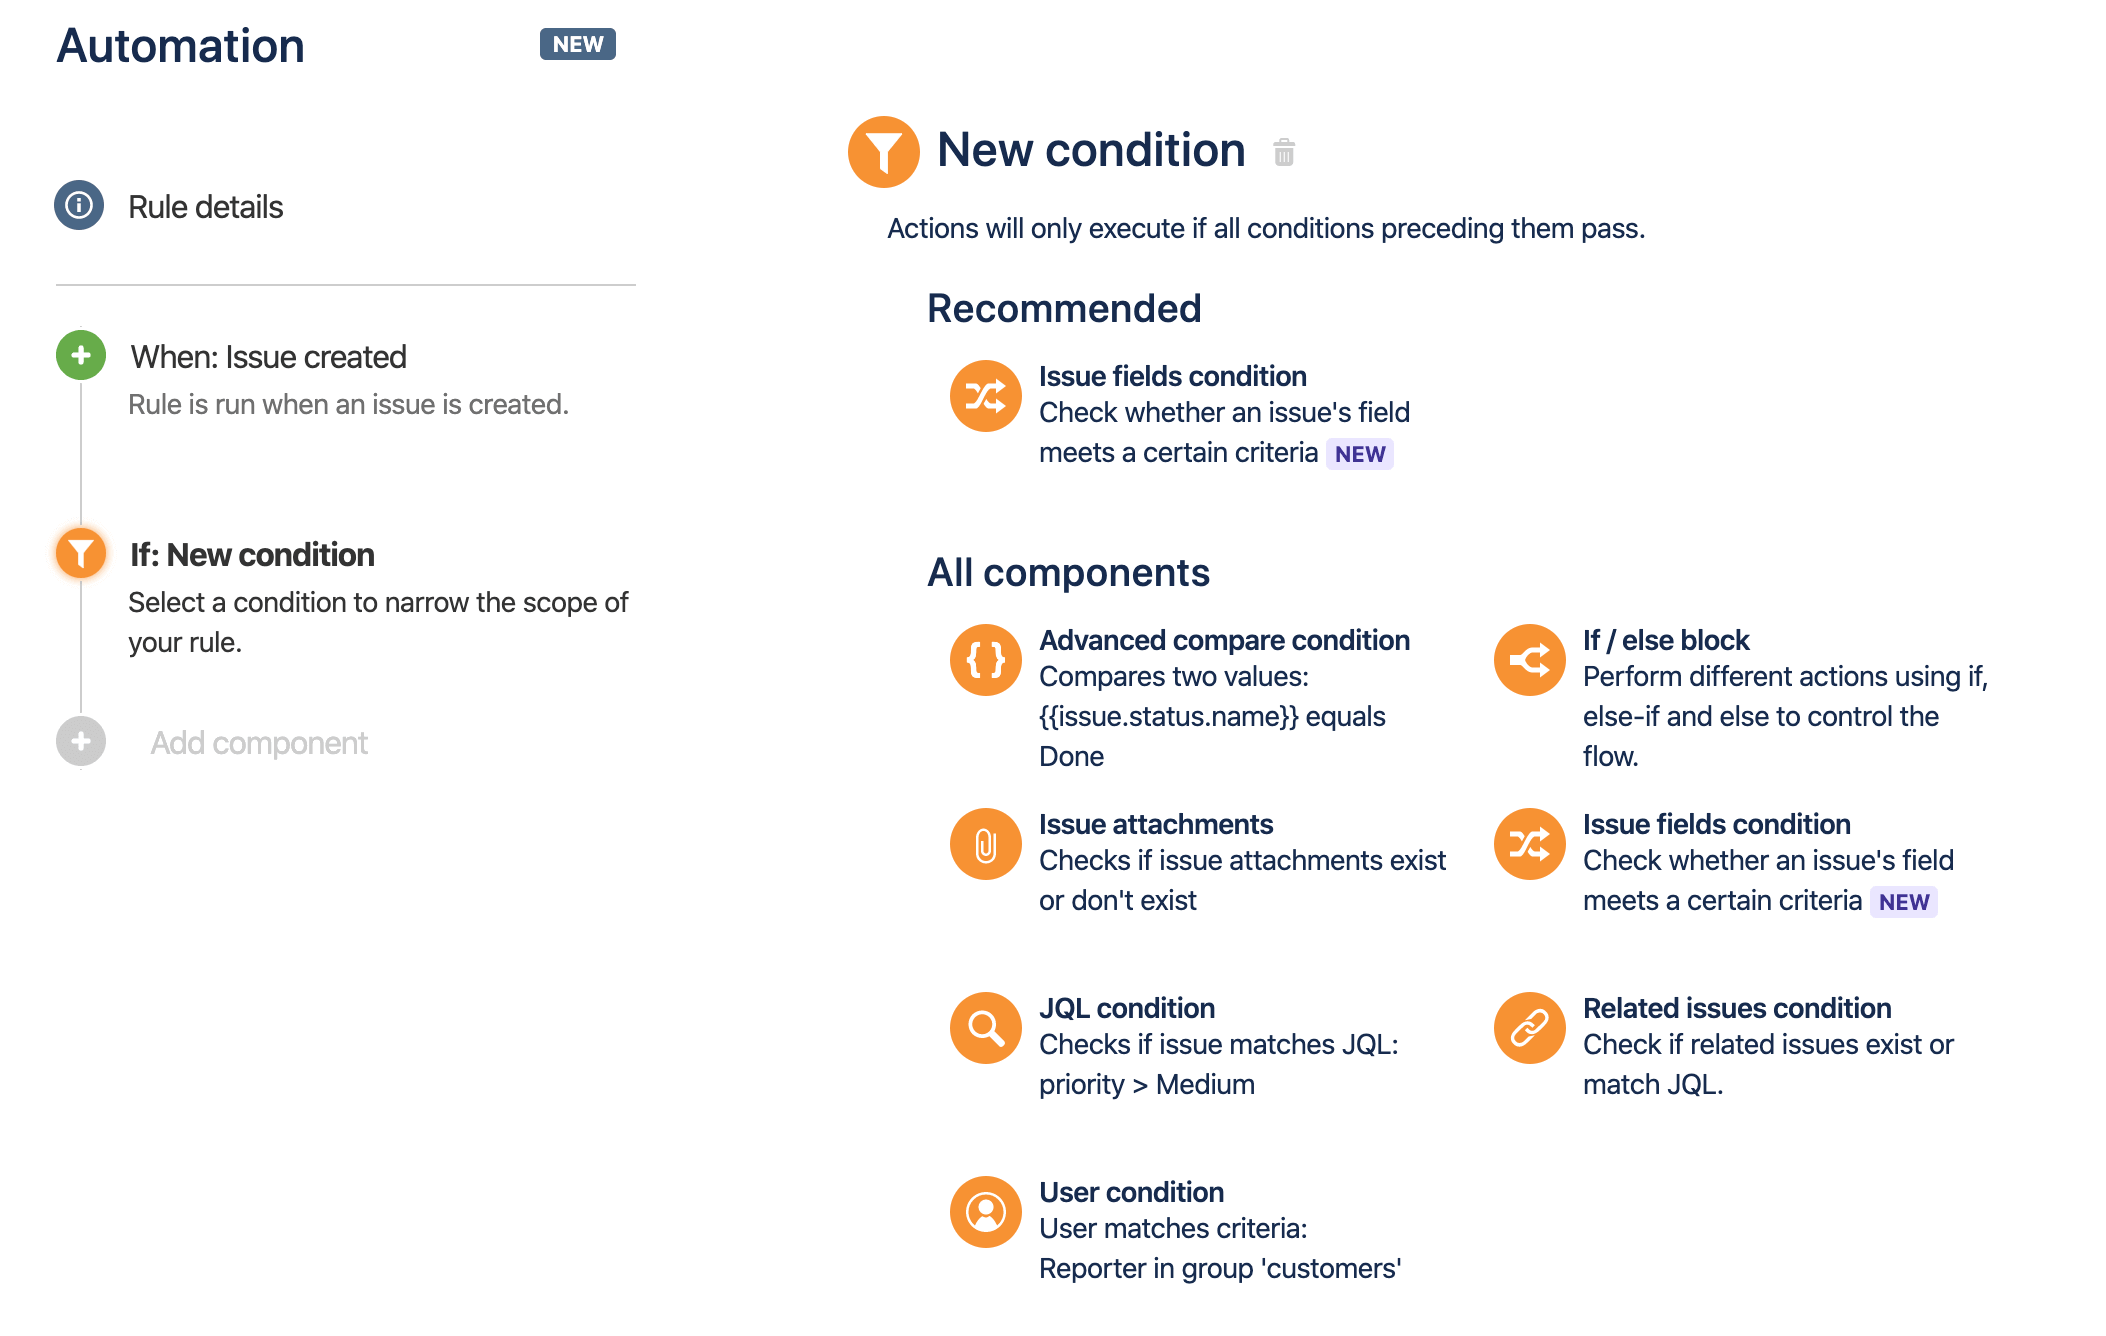
- Configure Condition. Select Save.

- Select New Action and select a task to perform.

- Configure Action and select Save.

- Name Automation Rule and select Turn it on

, multiple selections available,