AlignEM-SWiFT (image alignment)
This is a document that was created by Dhivya & Ashley Alario, updated with Patrick & Dusten, 2024. This was the protocol used by Ashley to align numerous series:
.
Note by PHP June 2025: This protocol below was considered an old and likely out-of-date protocol.
These instructions are a work in progress, but have already been used successfully to align several recent datasets.
Originally written by Patrick Parker in Aug. 2020, with contributions from Mahija Ginjuaplli, Dusten Hubbard, Masa Kuwajima, and Edwin Vargas-Garzon
UPDATE (2023-05-22): AlignEM-SWiFT is currently being re-factored with a new GUI. This page will be updated as new information become available.
- 1 This is a document that was created by Dhivya & Ashley Alario, updated with Patrick & Dusten, 2024. This was the protocol used by Ashley to align numerous series: .
- 1.1 Current Limitations
- 1.2 Background
- 1.3 1. Upload your files from your local drive (Windows PC) to Lonestar6 at TACC
- 1.4 2. Open AlignEM-SWiFT in 3DEM.org
- 1.5 3. Find Your Files in TACC
- 1.6 4. Opening Images
- 1.7 5. Saving Your Project File/Folder
- 1.8 6. Define and Generate Scales
- 1.9 7. Skipping Images with Flaws
- 1.10 8. Initial Alignment at the Coarsest Scale
- 1.11 9. Refine Alignment at Finer Scales
- 1.12 10. Crop the Aligned Images
- 1.12.1 Method 1
- 1.12.2 Method 2
- 1.12.3 For both Methods after crop area is defined
- 1.13 11. Finishing & Saving
- 1.14 12. Downloading Aligned Images From TACC
Current Limitations
Make sure your images are in 1:1 (square) format and sequentially numbered.
Scrolling at Scale 1 (i.e., full resolution) is very slow for 24k x 24k tSEM images.
Point-match alignment does not work.
Background
Alignment is essential for serial section EM.
While Reconstruct can determine synapse area and trace volume regardless of alignment, good alignment is important for many reasons:
Accurate reconstruction
Autosegmentation
Blender Mesh Generation
Accurate Z-lengths
Identifying SER, glycogen, polyribosomes
Finding spine origins
Tracing oblique synapses
Surface area
User-friendliness
Pretty 3Ds
Reconstruct has a method for manual alignment (outlined in Ch 10 of the Reconstruct User Manual), but it is time-consuming and does not produce the best results.
AlignEM-SWiFT is an implementation of SWiFT-IR (Signal Whitening Fourier Transform Image Registration), developed by Art Wetzel, Joel Yancy, Tom Bartol, and Bob Kuczewski.
SWiFT-IR has been used to align serial EM images for:
Hildebrand D et al. (2017) Whole-brain serial-section electron microscopy in larval zebrafish. Nature 545:345-349. DOI: 10.1038/nature22356.
Morgan J et al. (2016) The Fuzzy Logic of Network Connectivity in Mouse Visual Thalamus. Cell 165:192-206. DOI: 10.1016/j.cell.2016.02.033.
Here is more information on SWiFT-IR:
Arthur W. Wetzel, Jennifer Bakal, Markus Dittrich, David G. C. Hildebrand, Josh L. Morgan, Jeff W. Lichtman (2016) Registering large volume serial-section electron microscopy image sets for neural circuit reconstruction using FFT signal whitening. https://arxiv.org/abs/1612.04787
1. Upload your files from your local drive (Windows PC) to Lonestar6 at TACC
Install and start WinSCP. FileZilla will work for both Windows and Mac.
Set up a New Site: File protocol = SCP or SFTP; Host name = ls6.tacc.utexas.edu; Port number = 22, User name = your TACC username. Click "Save" if you have not done so already. Click "Login".
At the prompt, enter your TACC password. In the next prompt, enter 6-digit number on your TACC Token app. This will open your work folder, named with a 5-digit number, e.g.: /work/#####/yourname/ls6.
There is a disk quota for your work folder (1 TB). Make sure to clear unused files before starting a new alignment because you can end up with ~700 GB of data at the end of a single alignment project. If you have a large image data set, you will fill up your disk quota before saving cropped images. To avoid this, you could use the scratch space on ls6 (/scratch/#####/yourname). The scratch space is intended to be temporary storage, so make sure to copy your files out when you are done.
Copy your files to a folder in your scratch space. In WinSCP, navigate to your files in the left-hand window and drag files over to your work folder.
(Harris Lab specific) If you are moving image files from khlabfiles server, see here.
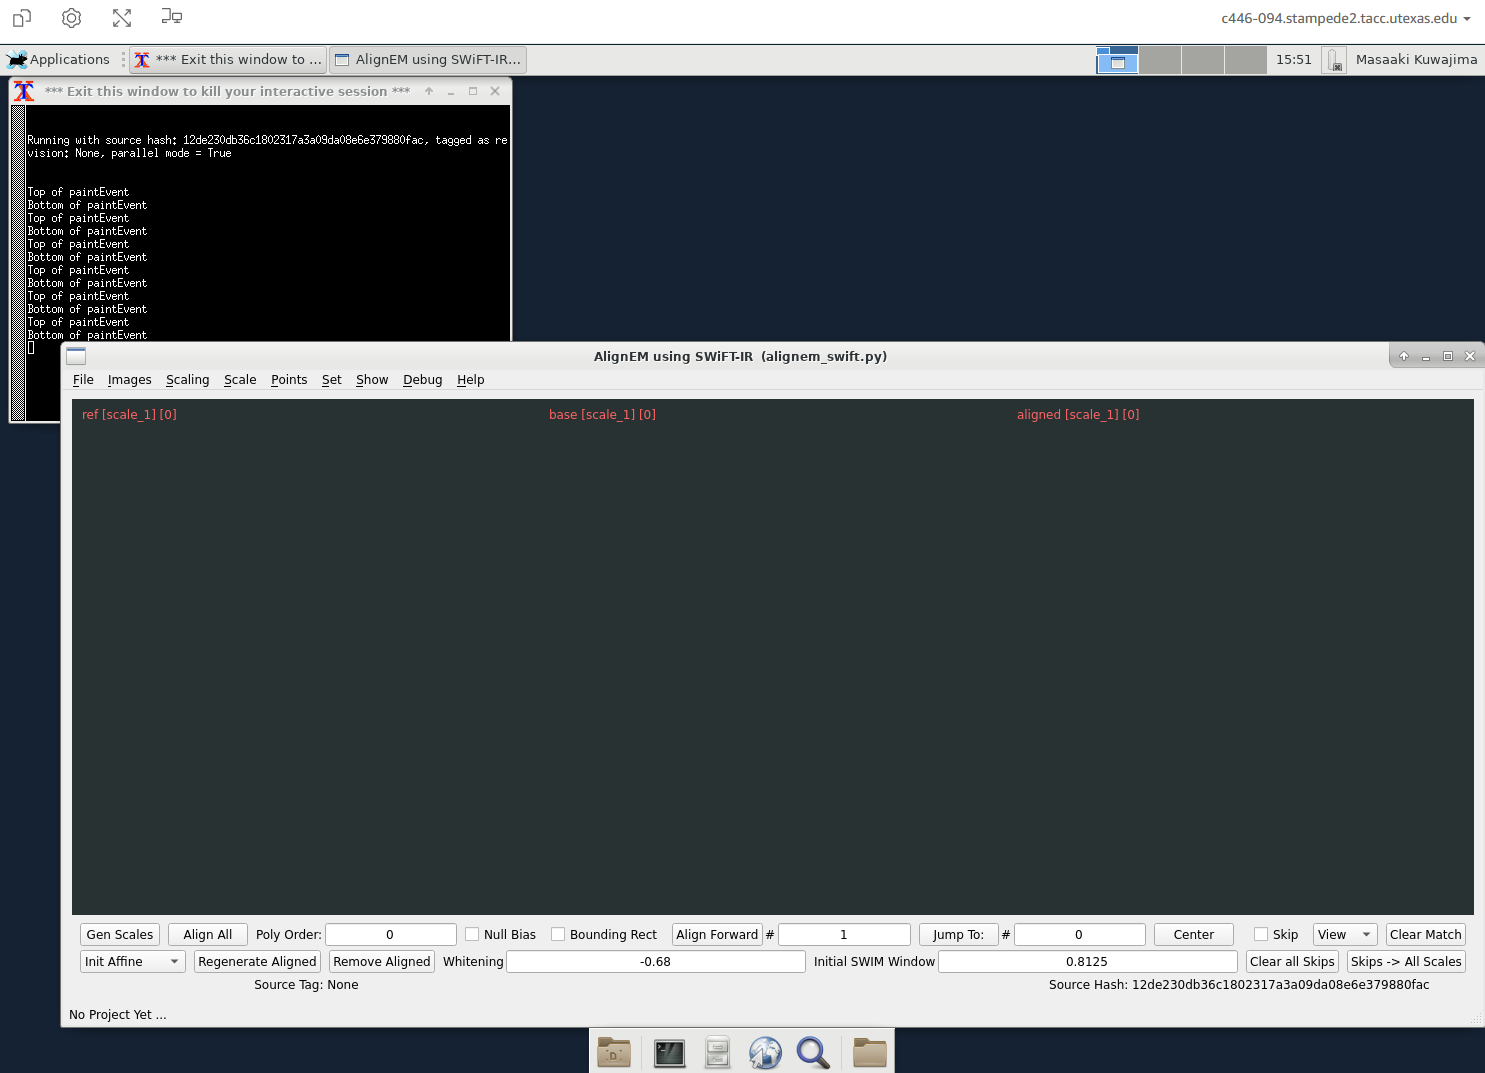
2. Open AlignEM-SWiFT in 3DEM.org
In a browser, log into 3DEM.org using your TACC accout credentials.

Click "Applications" > "Interactive Analysis" > "AlignEM Swift NG Dev".
Now you should see a window titled "AlignEM_Swift_Dev". Leave "Working Directory" blank. Under "Configurations", choose "normal" for Queue, keep the default value for others, and scroll down to bottom of the page to click "Submit". This starts AlignEM-SWiFT. when a popup tells you that the job is running, go to "History" > "Jobs" > click "Open Session".
When a node on lonestar6 is assigned to your job, “Open Session” window will pop up. click "Connect" and log in again. This will launch an interactive session. Be patient for AlignEM-SWiFT window to open.
Once AlignEM-SWiFT starts, your browser window should look like this: